

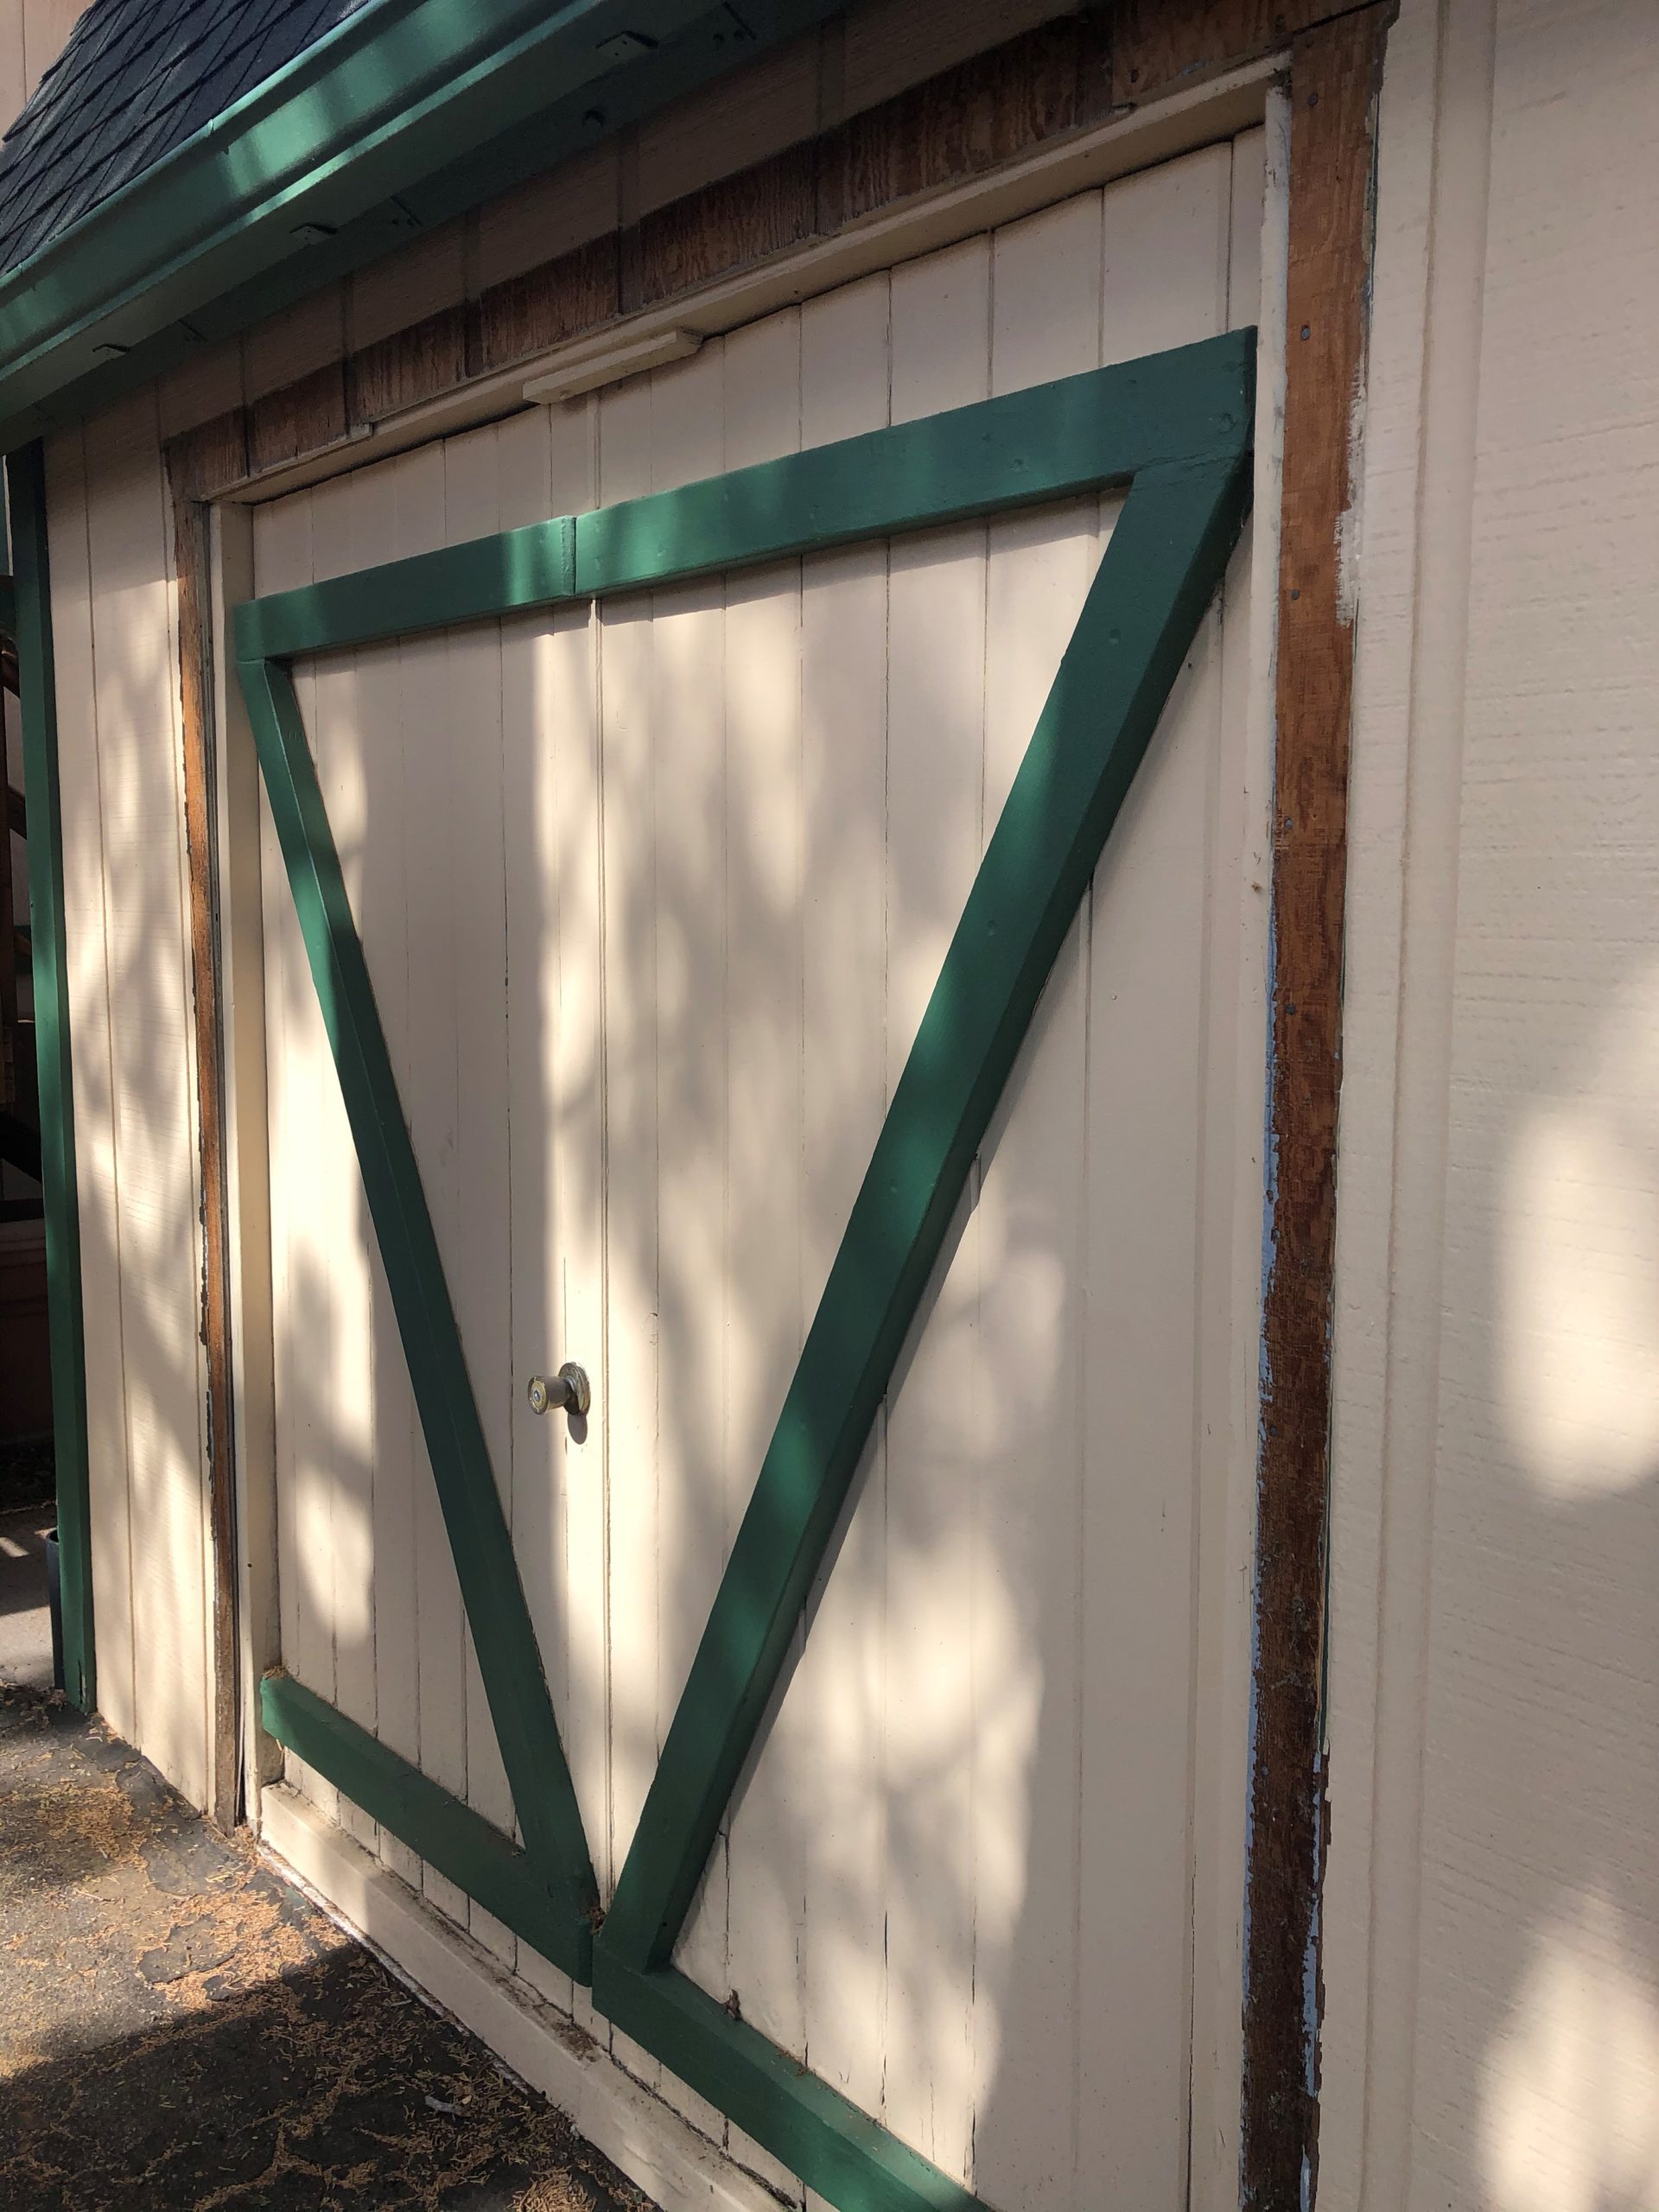
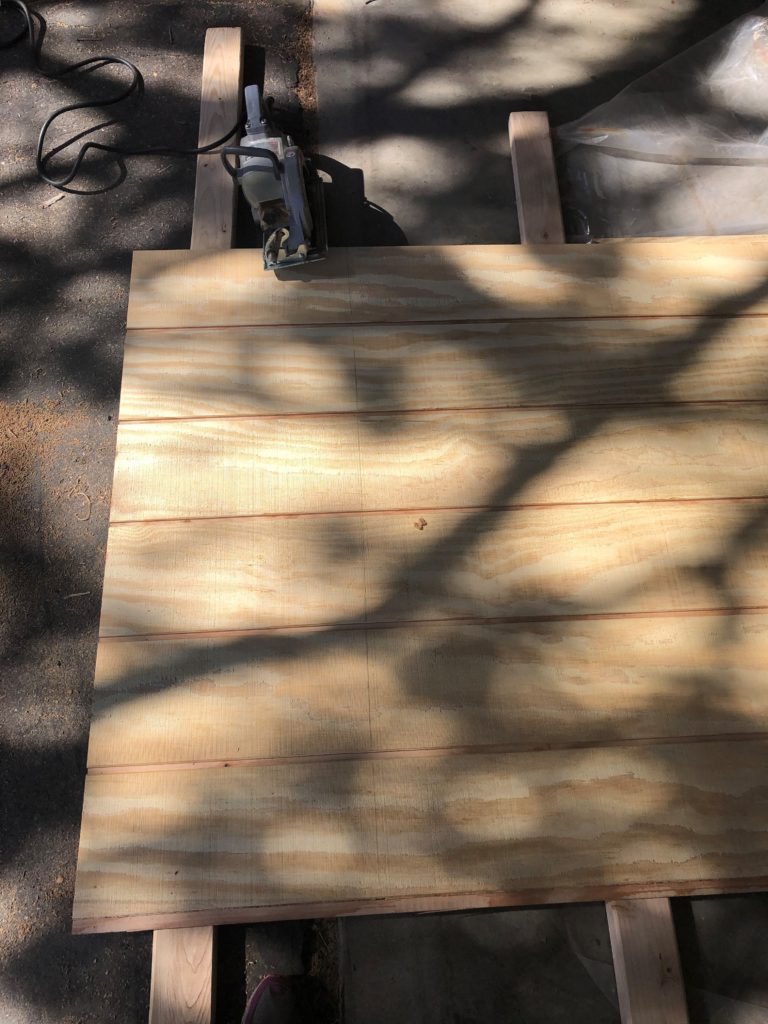
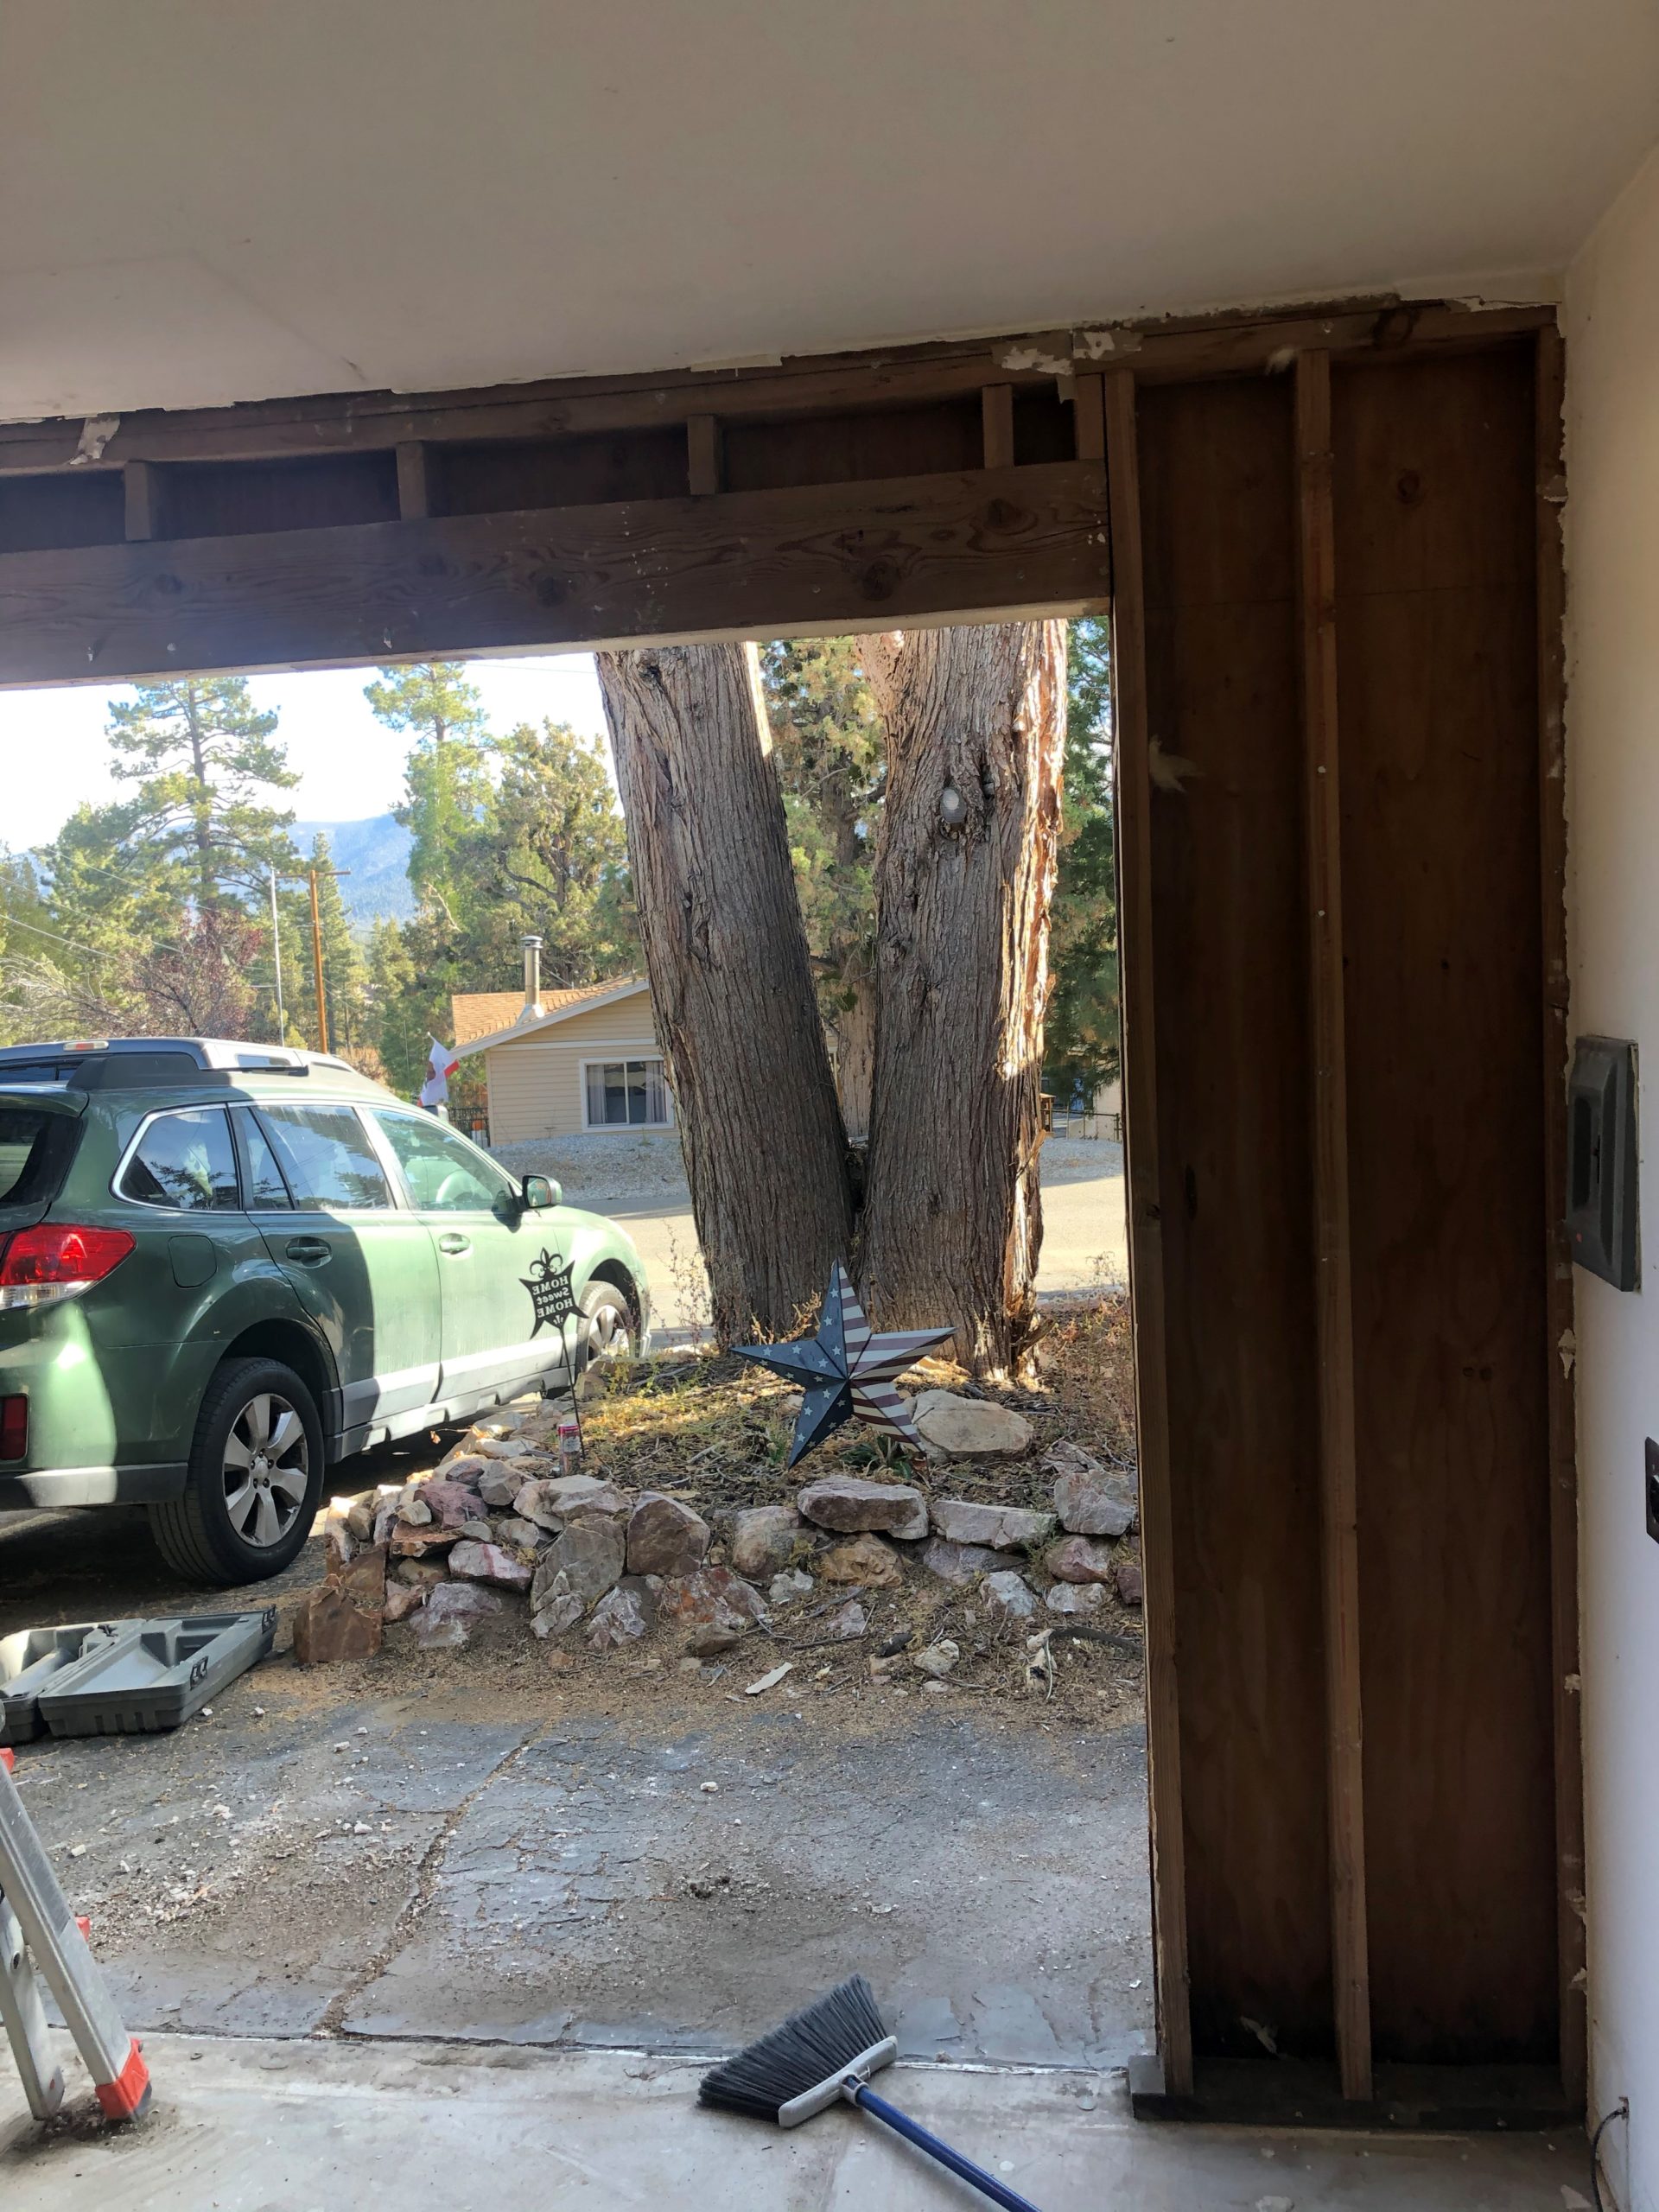
These doors had to go
The first step in the remodel was to remove the existing barn doors. They were letting water and air, which would damage my supplies.
So the first step was to take out the doors
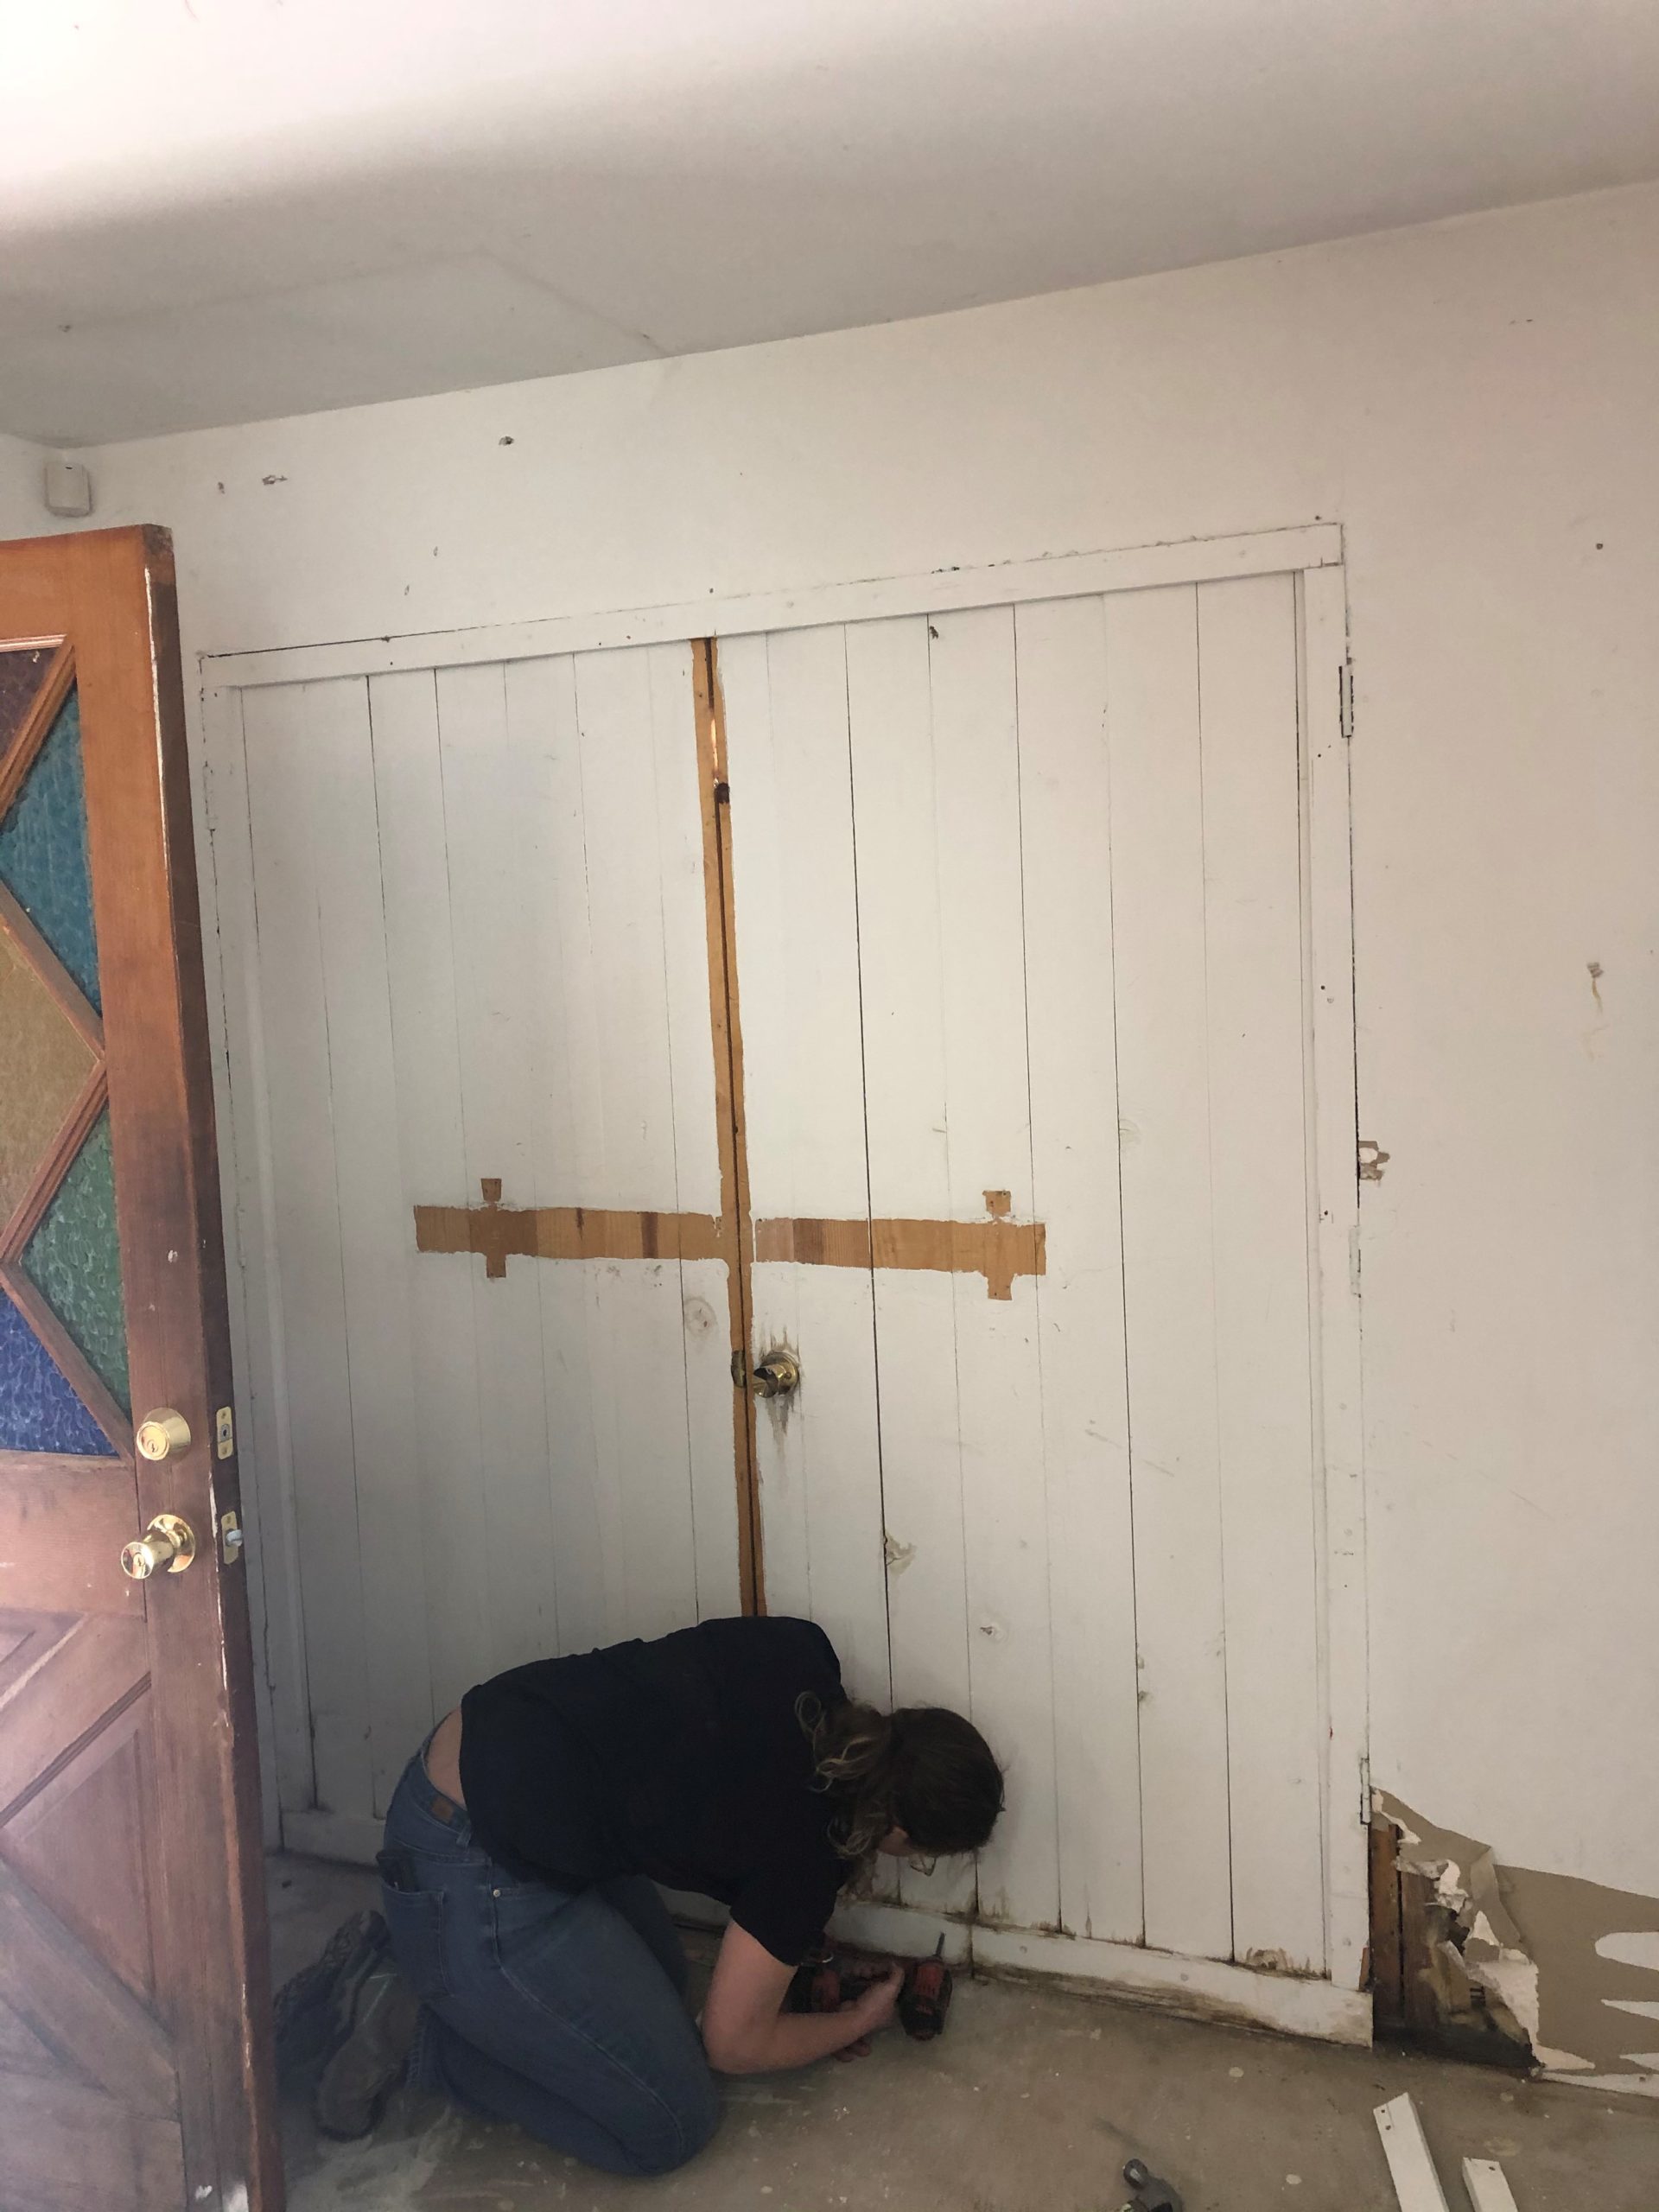
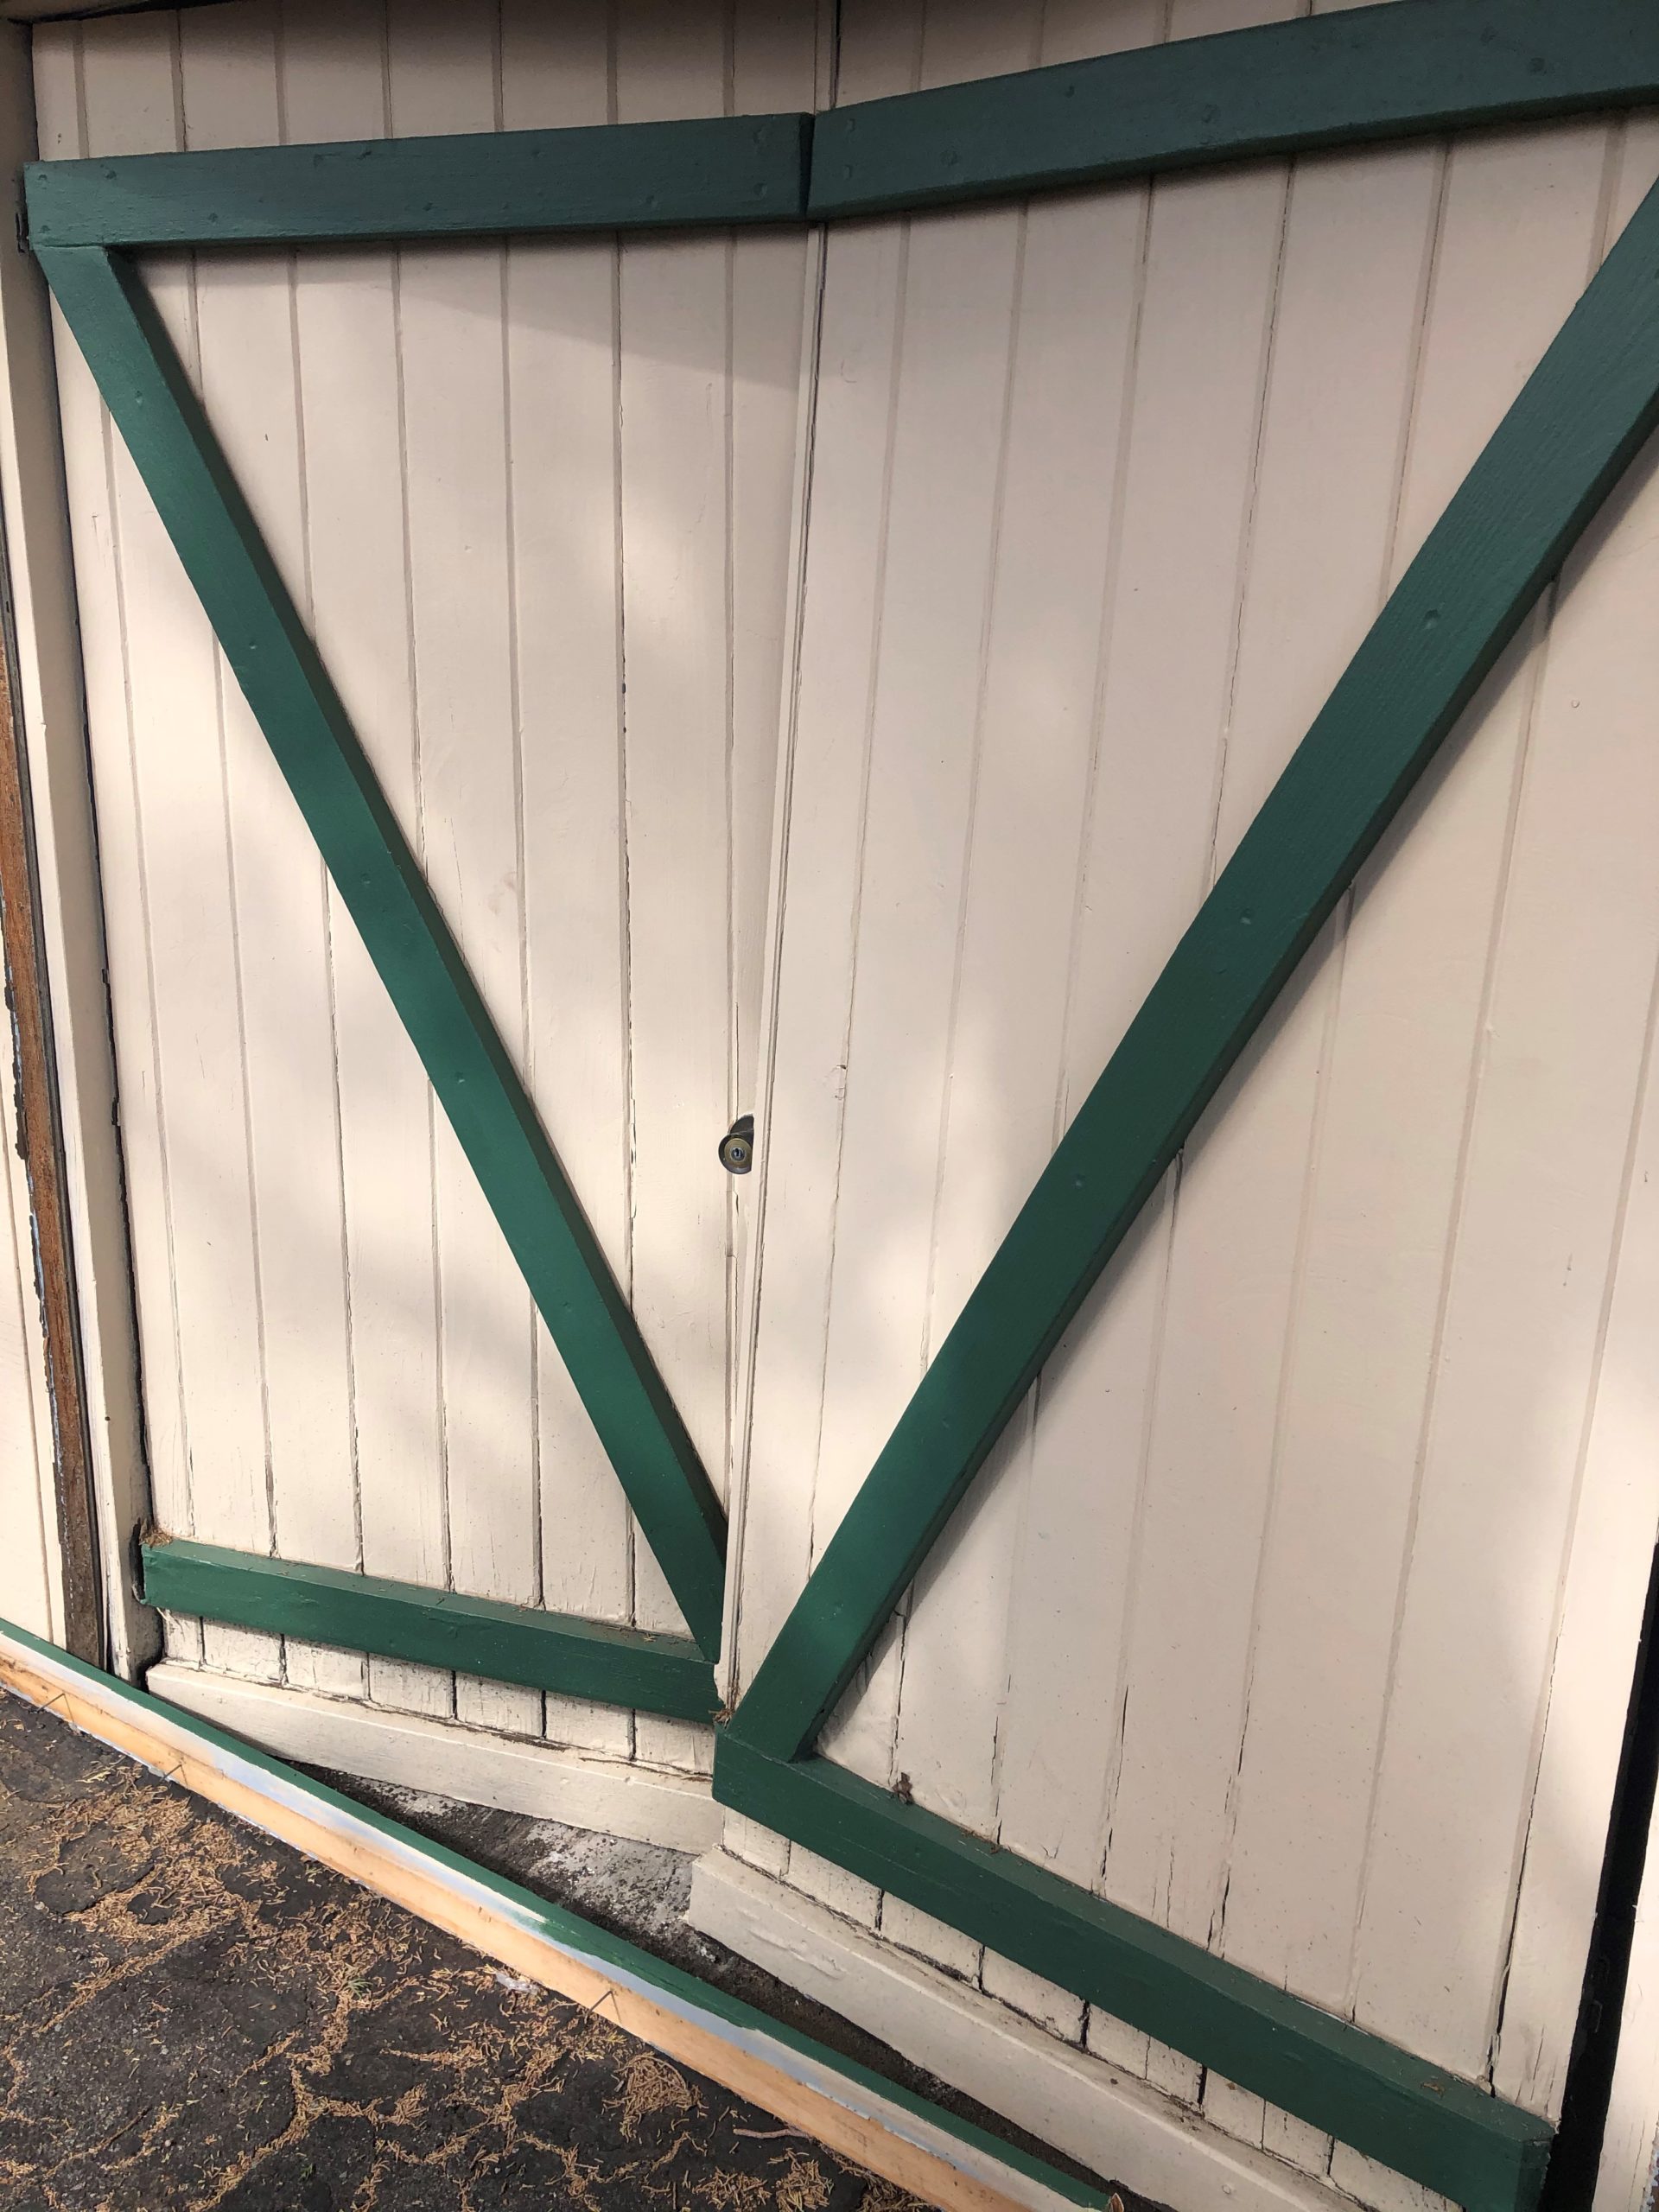
Easier said than done. They were 2x4's routed together so they were very heavy. They also were not supported correctly so they had warped and sagged.
After unscrewing and a little persuasion we were finally ready to get rid of the doors
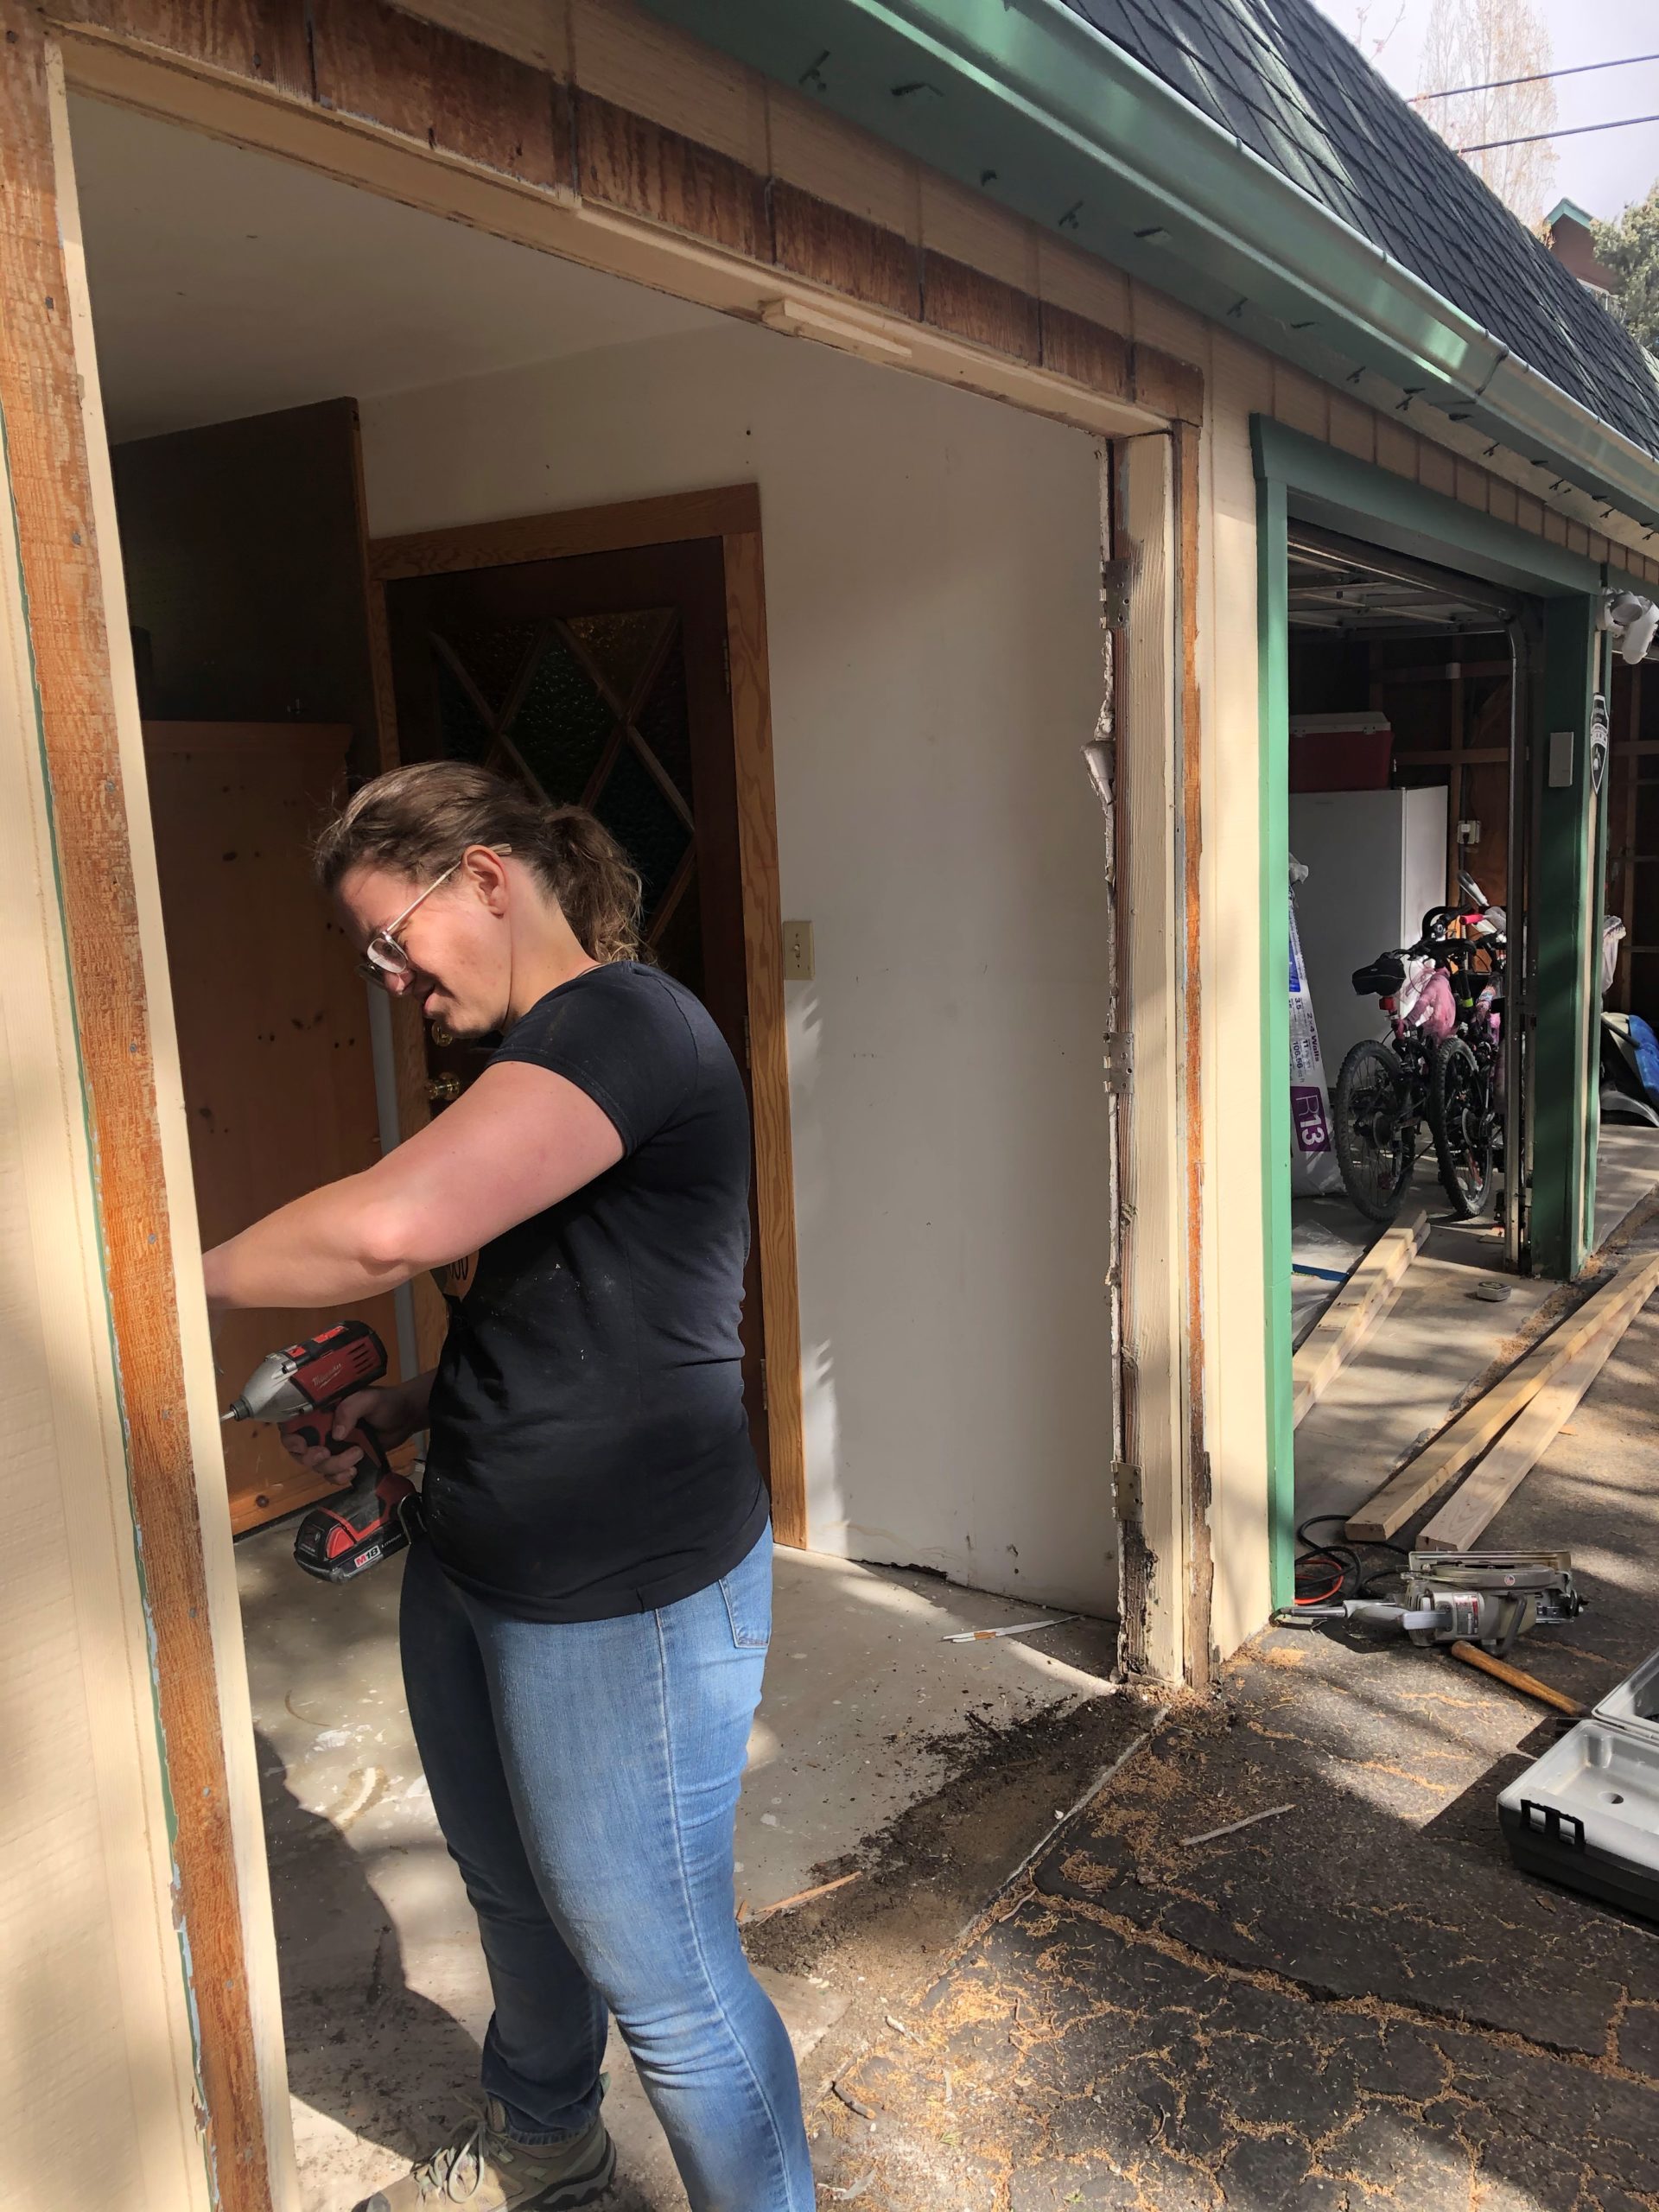
With the doors finally off we moved onto removing the drywall.
Interior drywall demo
Now with the doors gone, we moved to the interior. But we noticed that the water damage went further than expected, so we prepped a little larger area than I was anticipating.
Liquid Nails
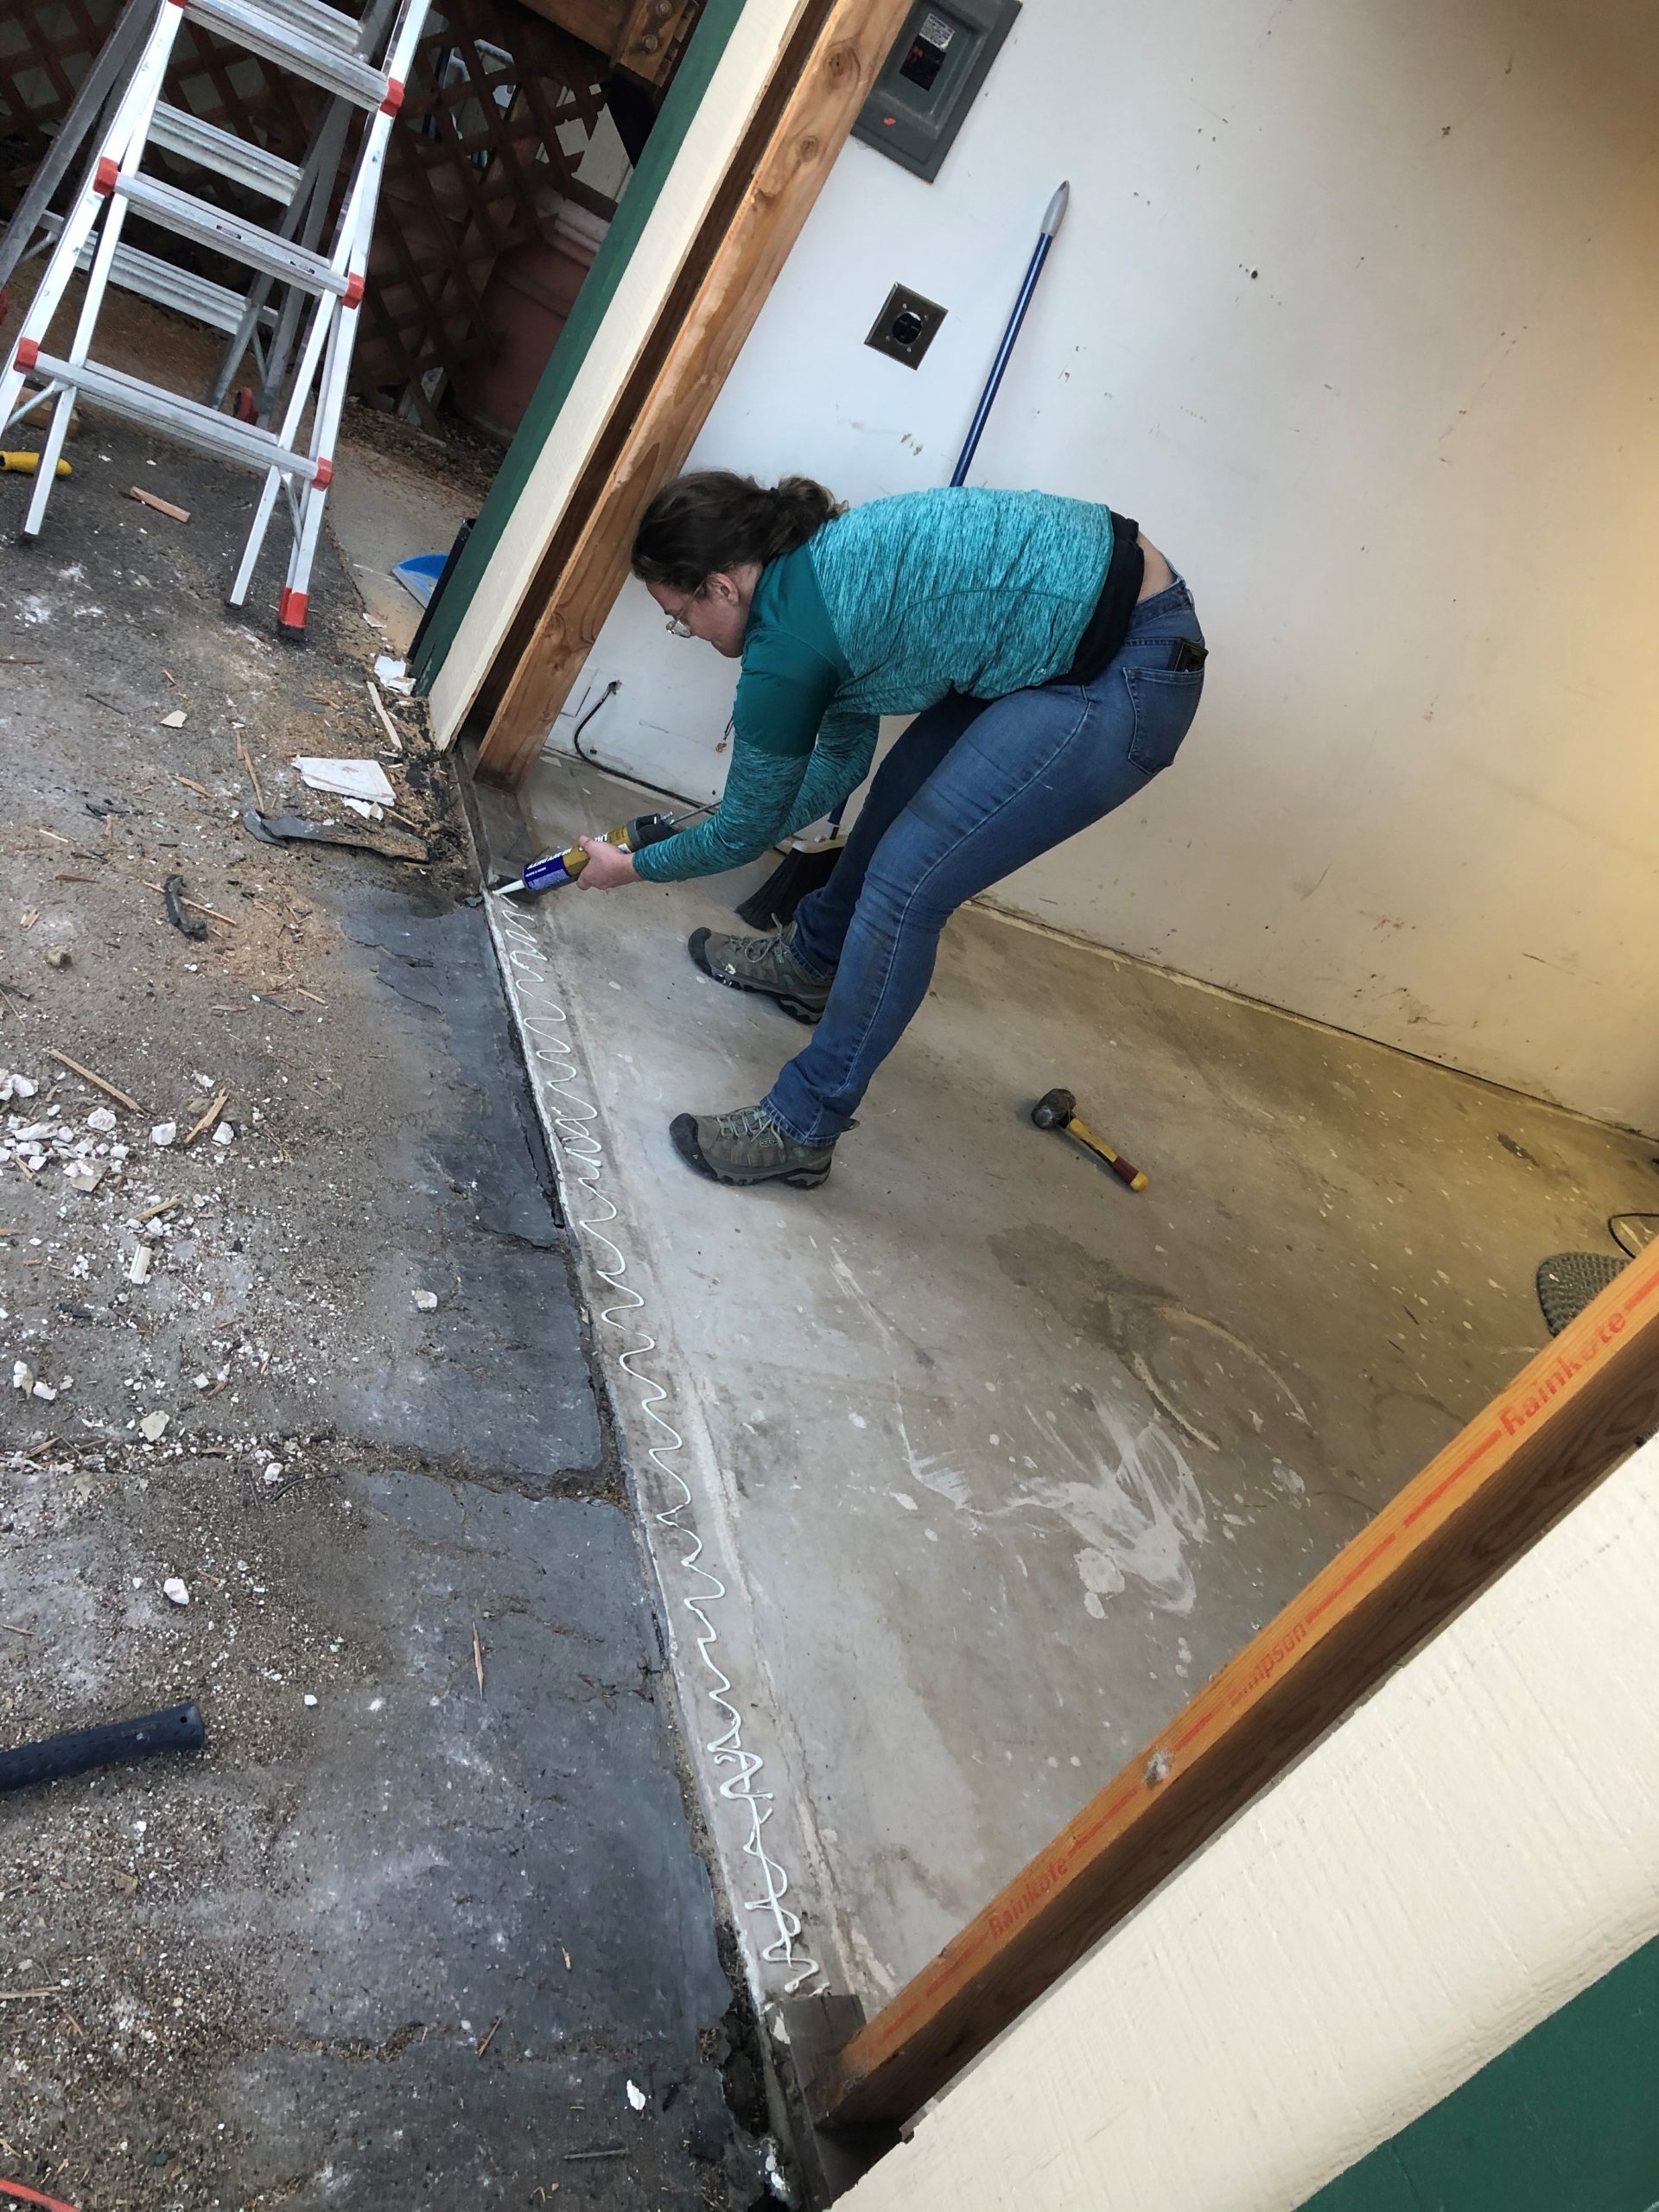
Since we had to place the lower framing in between the existing wall frame; we used liquid nails to adhere it to the ground and in between where it would meet the existing frame.

We have a wall at last!
This was the hardest part for us, and we had to pull in another friend, who up to this point had just been drinking beers and watching us work. But we definitely needed the extra hands to hold up the wall and get it straight. Now you will notice that you can see light, but we are going to fix that here in just a second.
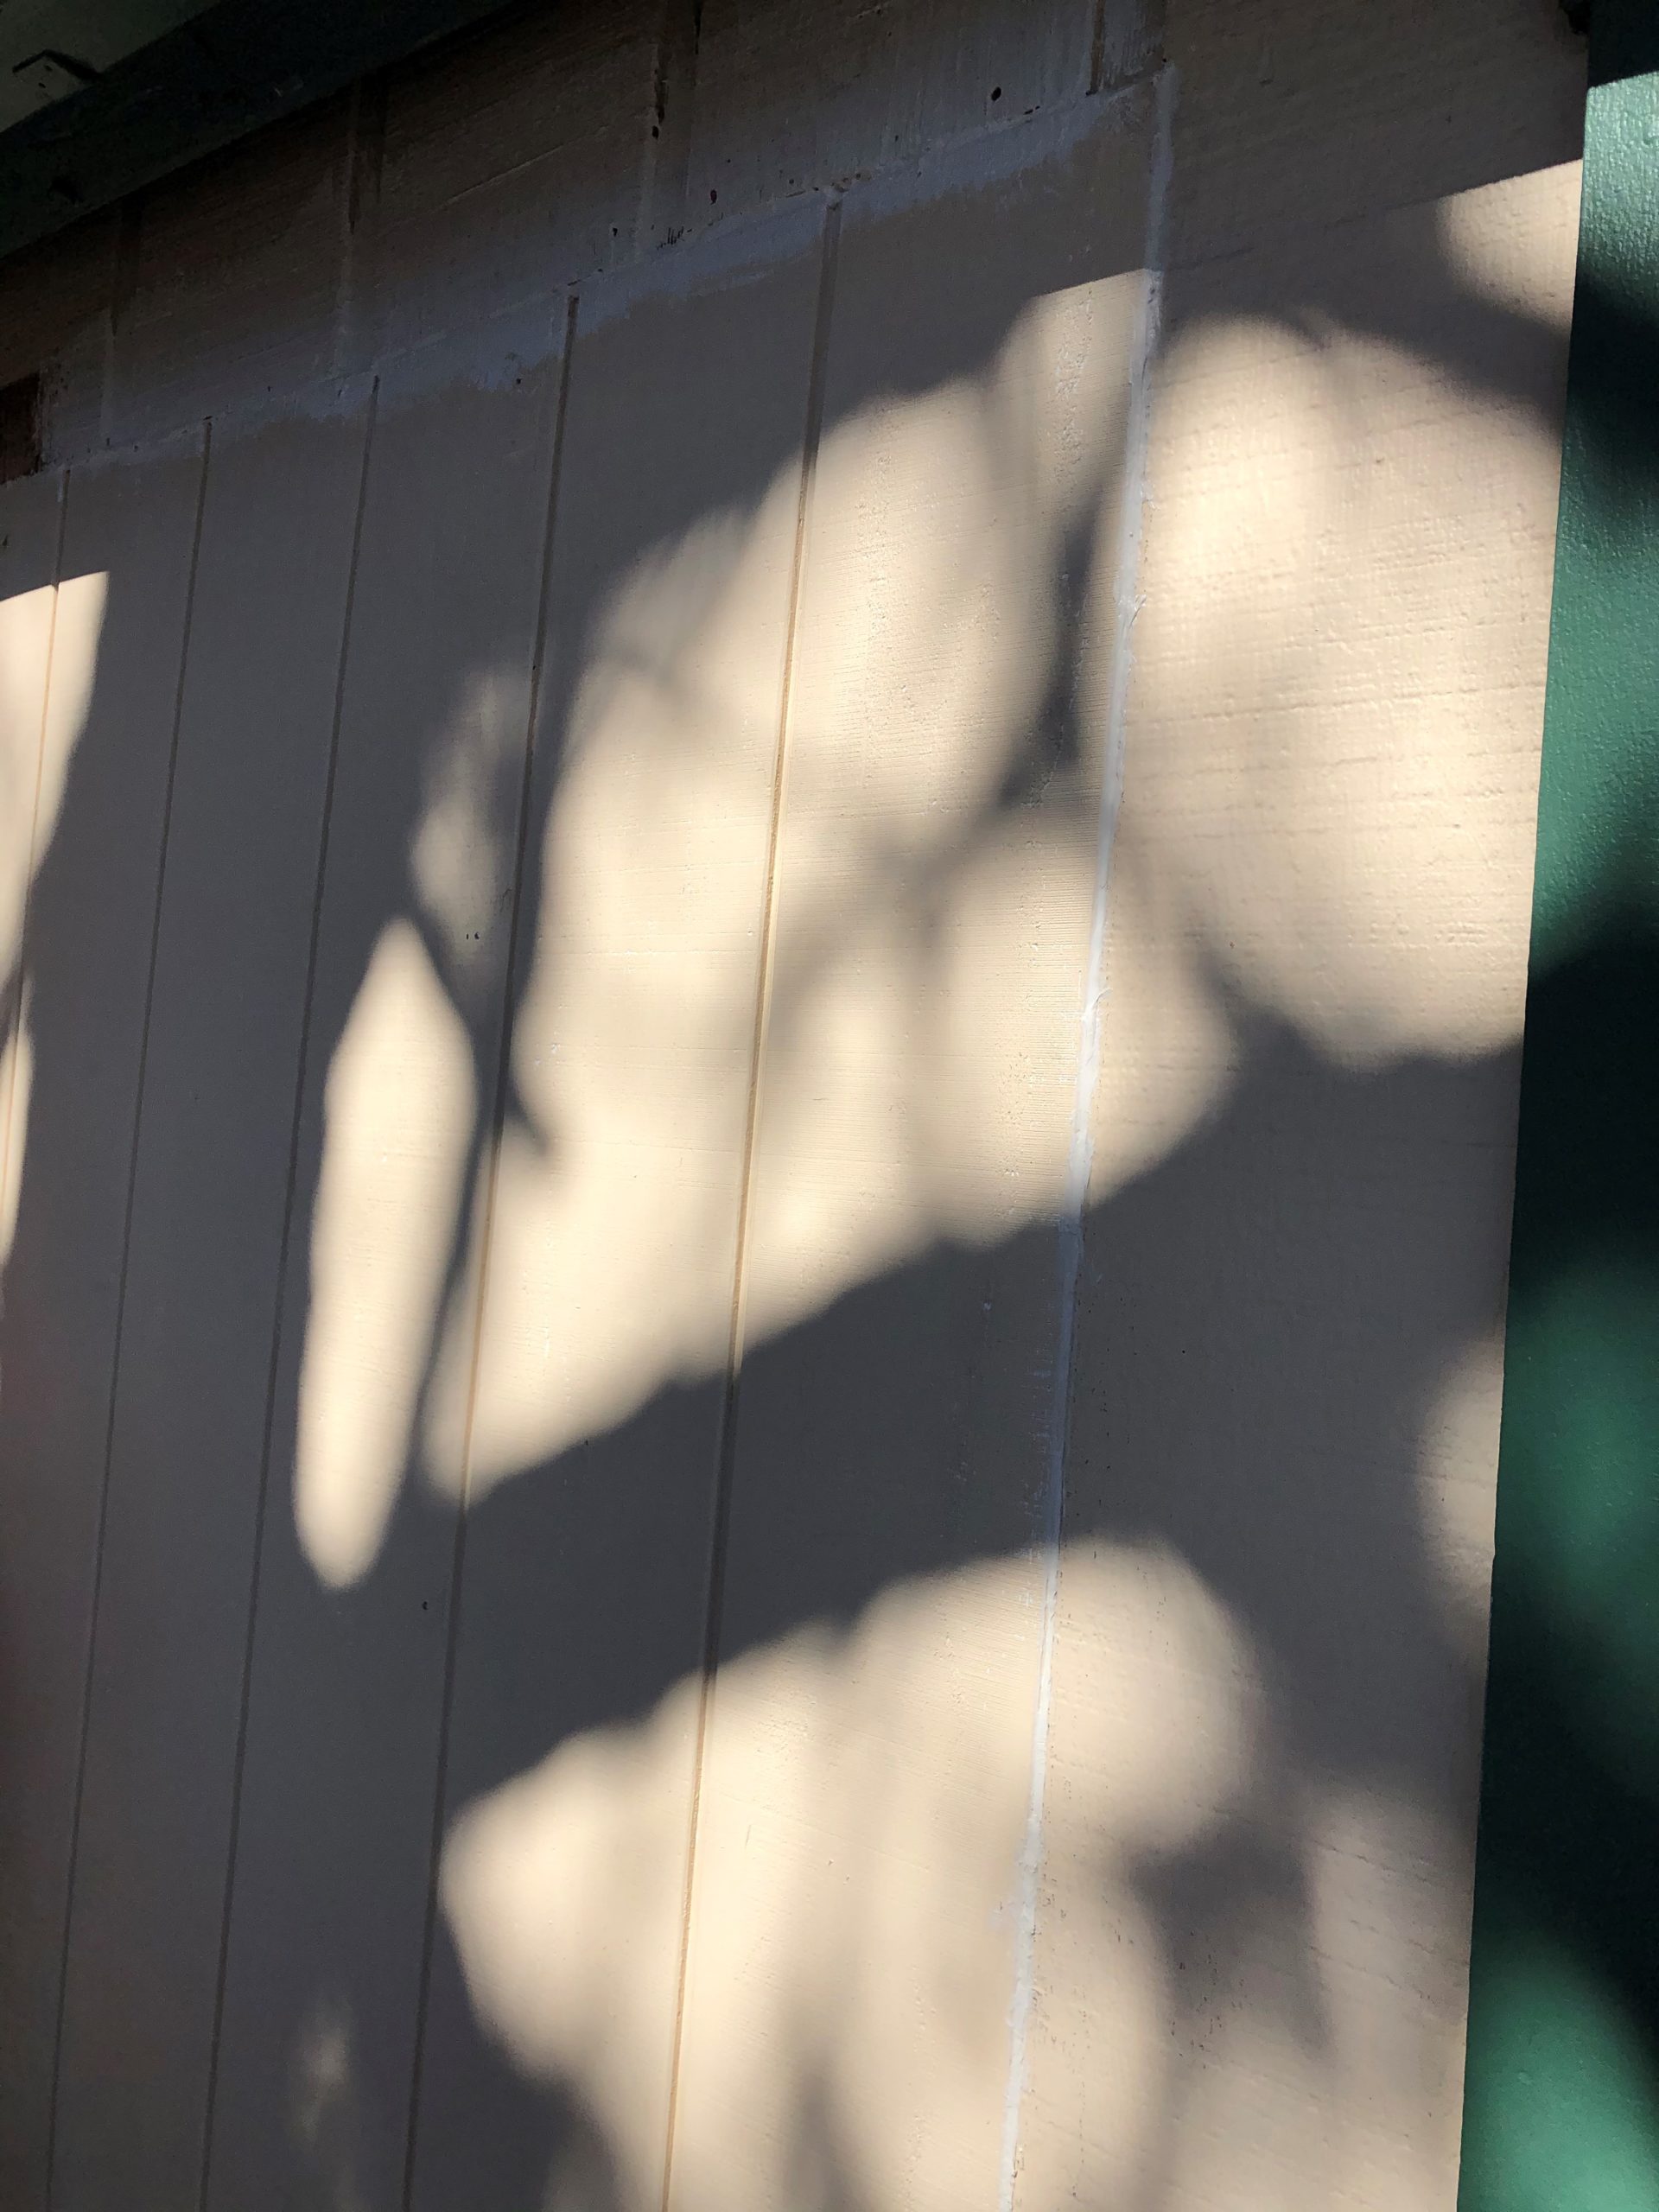
Caulk!
So this wasn't done on the garage siding when it was installed, hence the water damage in the room and drywall. Caulk every seam. It is tedious, but it makes your siding waterproof.
More Caulk !!
Caulk the inside too, caulk the bottom, caulk the fascia that you put on the horizontal seams of the siding. Pretty much if in doubt, more caulk.
 My name is Alicia, and I do a lot of different kinds of projects. I sew, make jewelry, papercraft, and make a lot of homemade gifts. I also am very at home with power tools. Meaning that I take on a lot of home improvement projects by myself. I also make mistakes, which I notice most bloggers aren’t keen on showing when they do, but I will own them and show how I work around them and fix them