

Crafter, Seamstress, DIY Repairs and Remodels
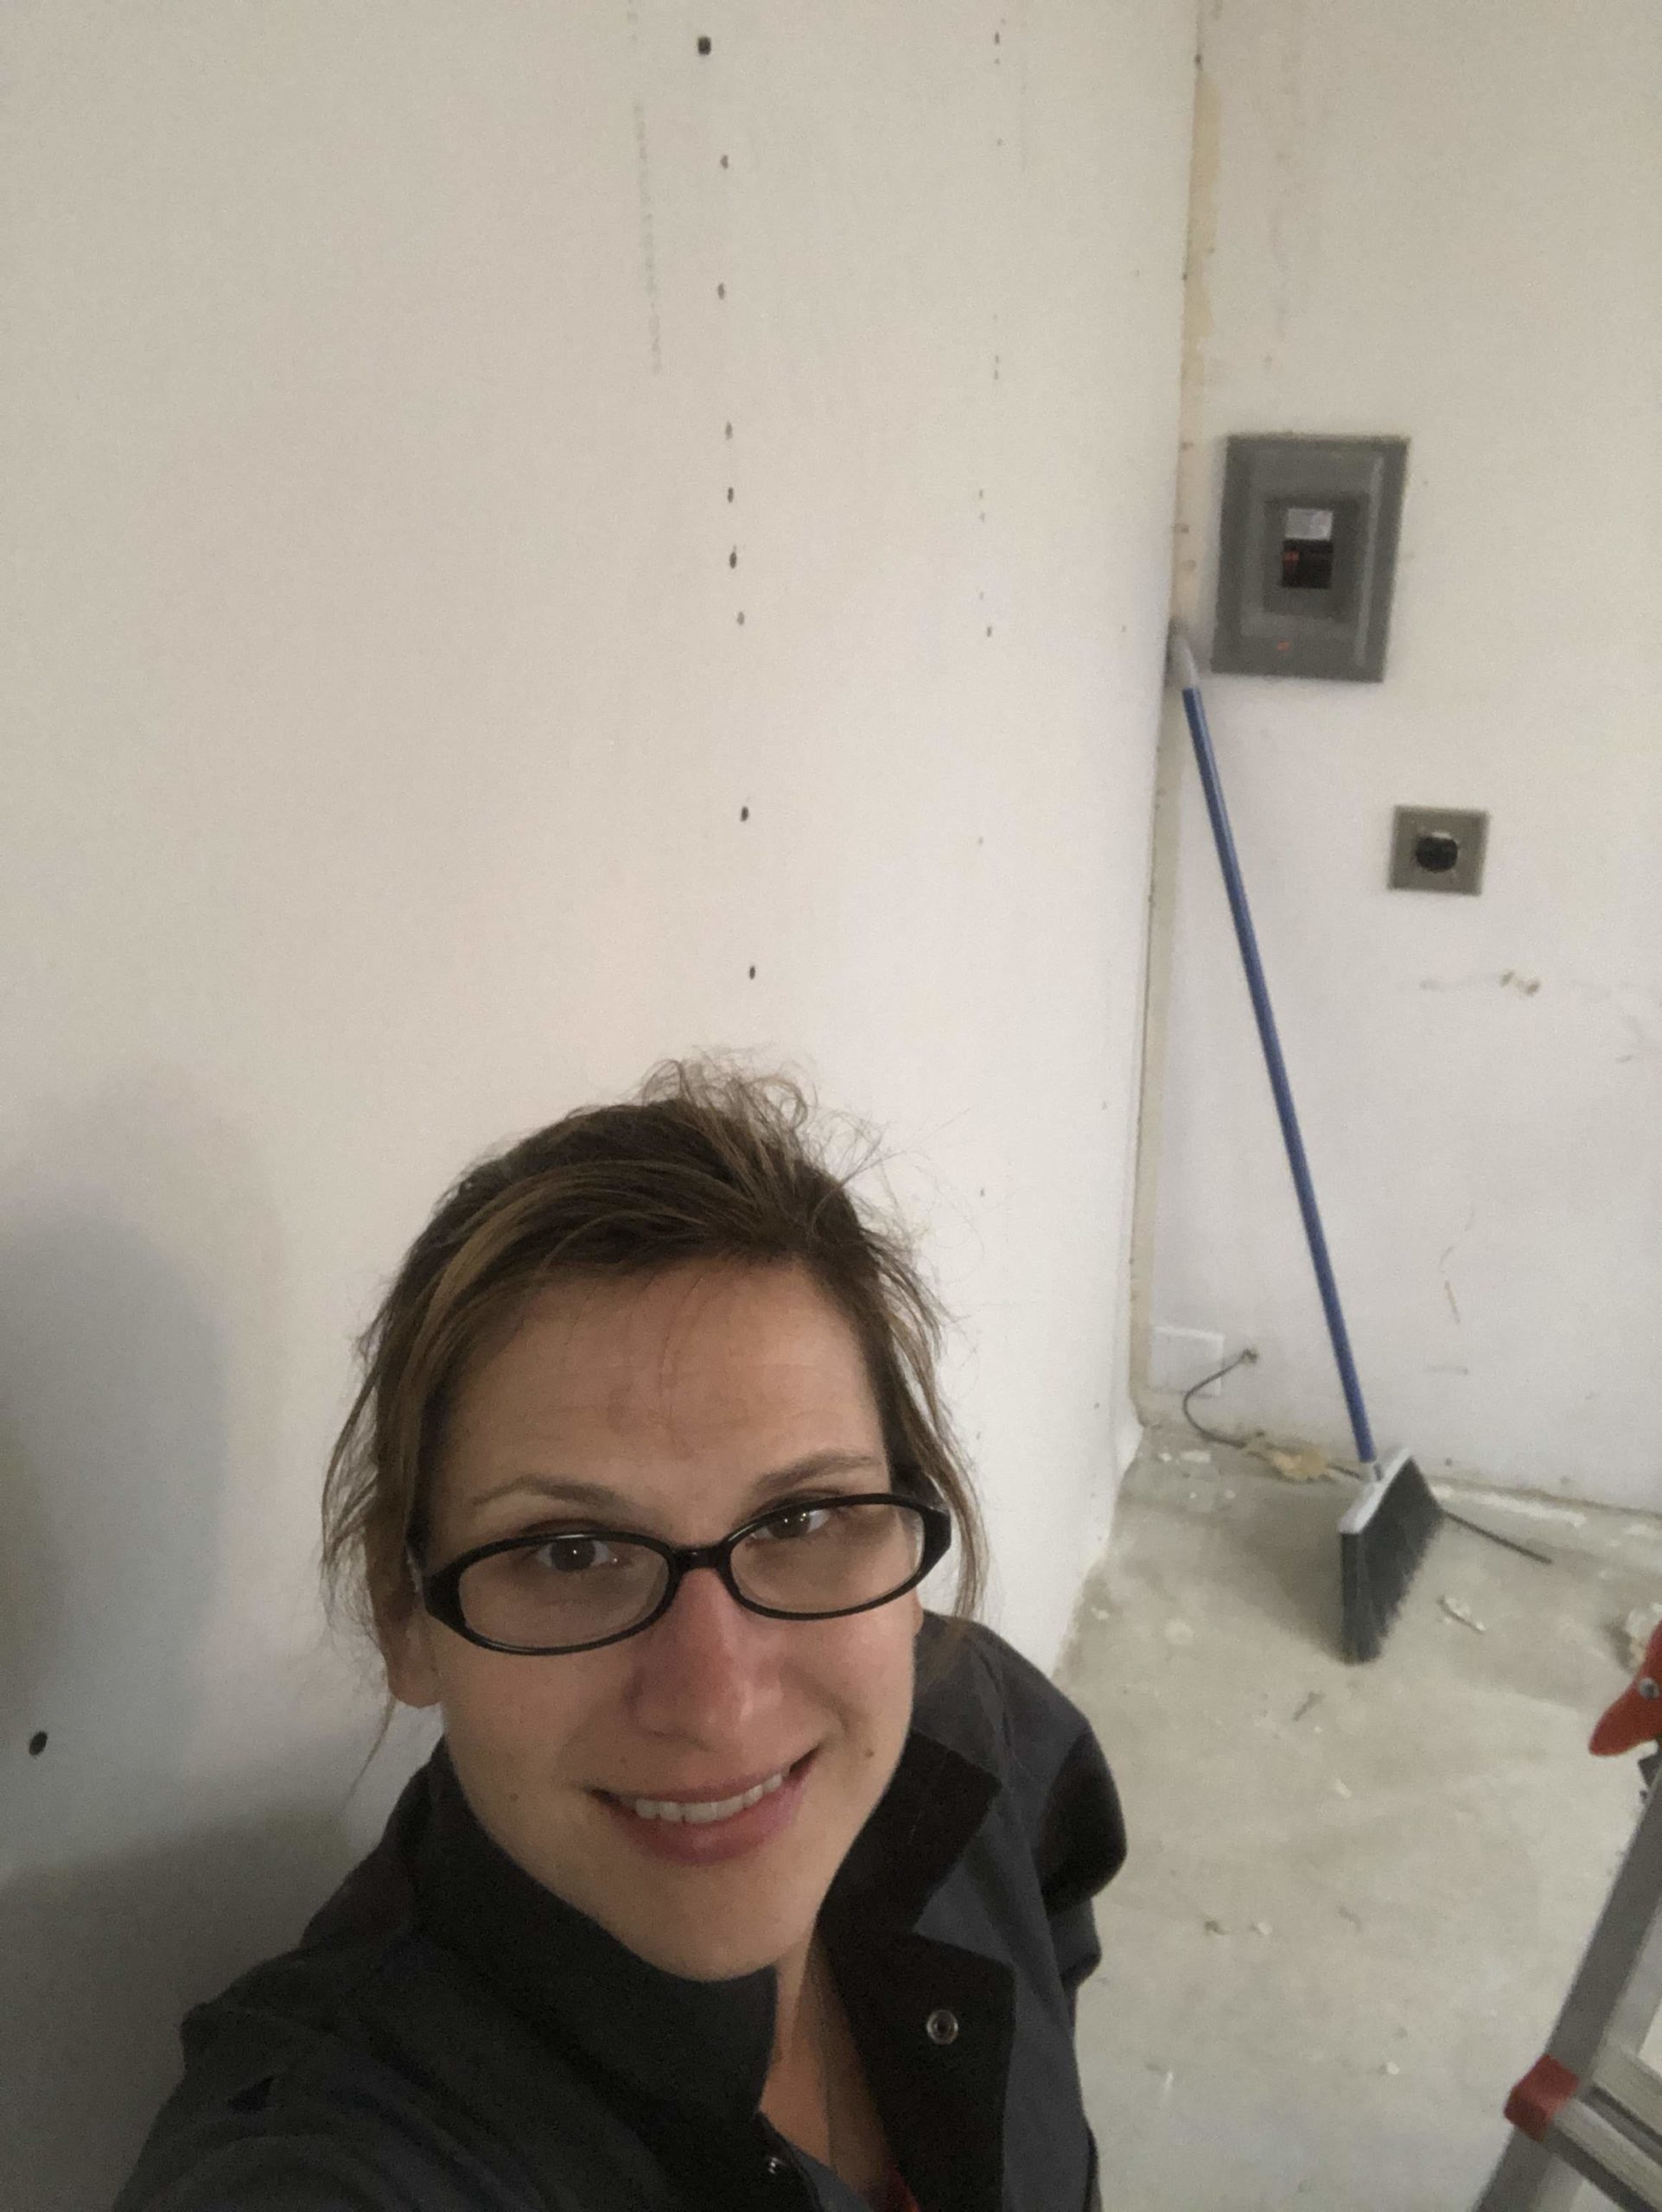
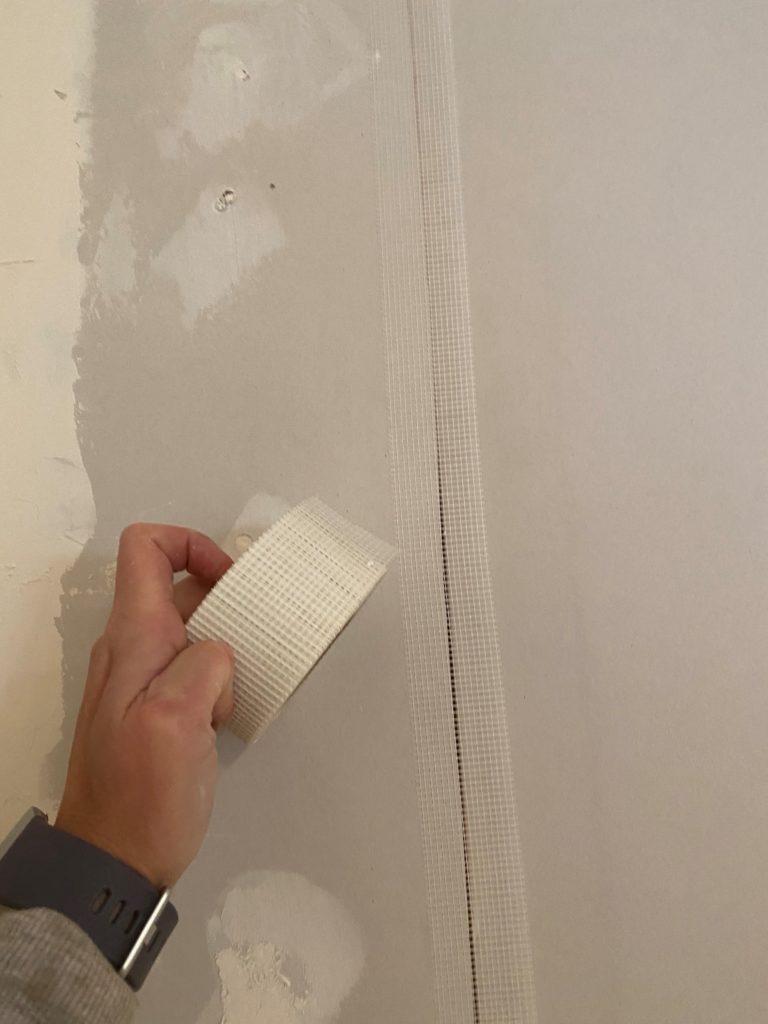
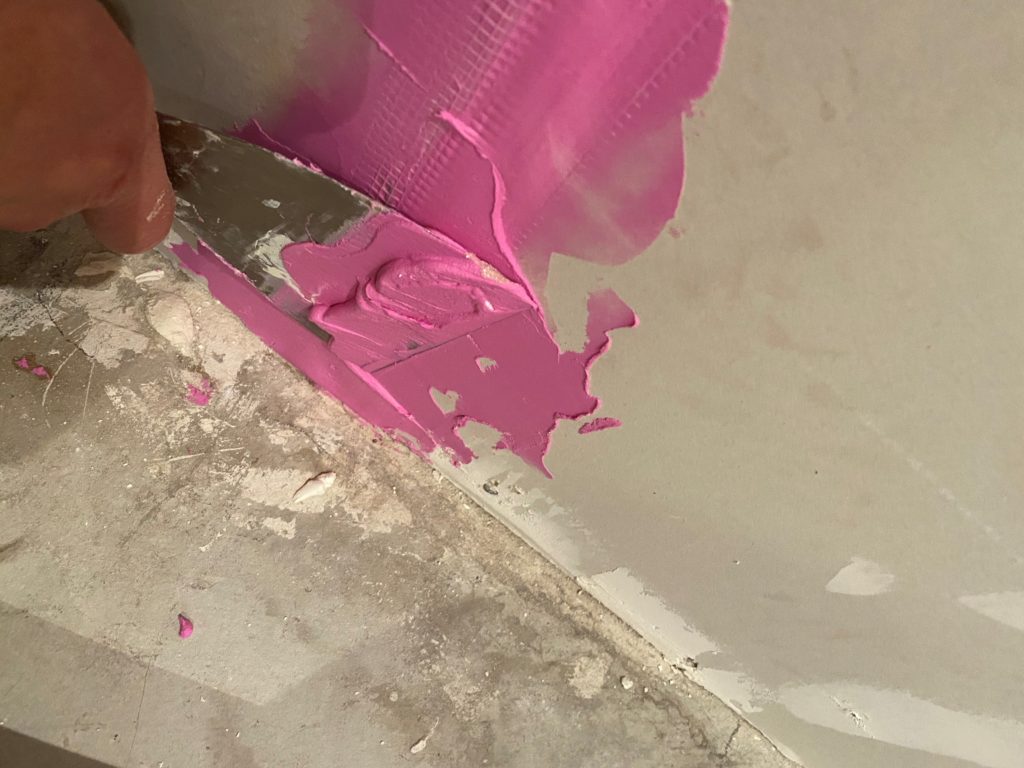
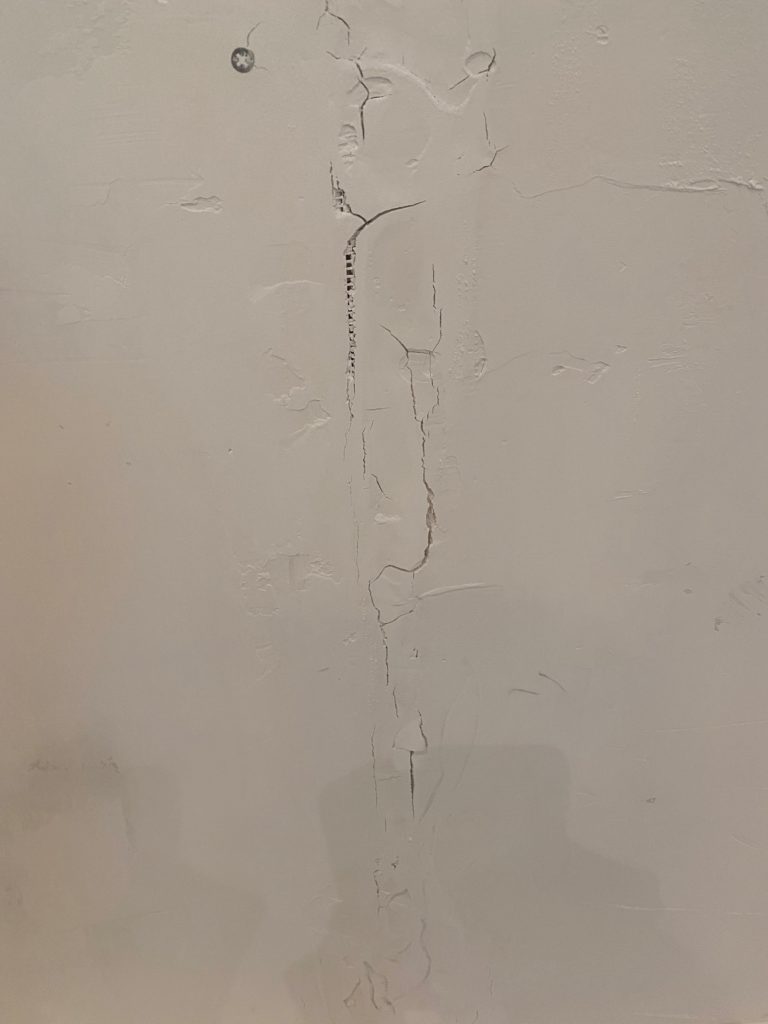
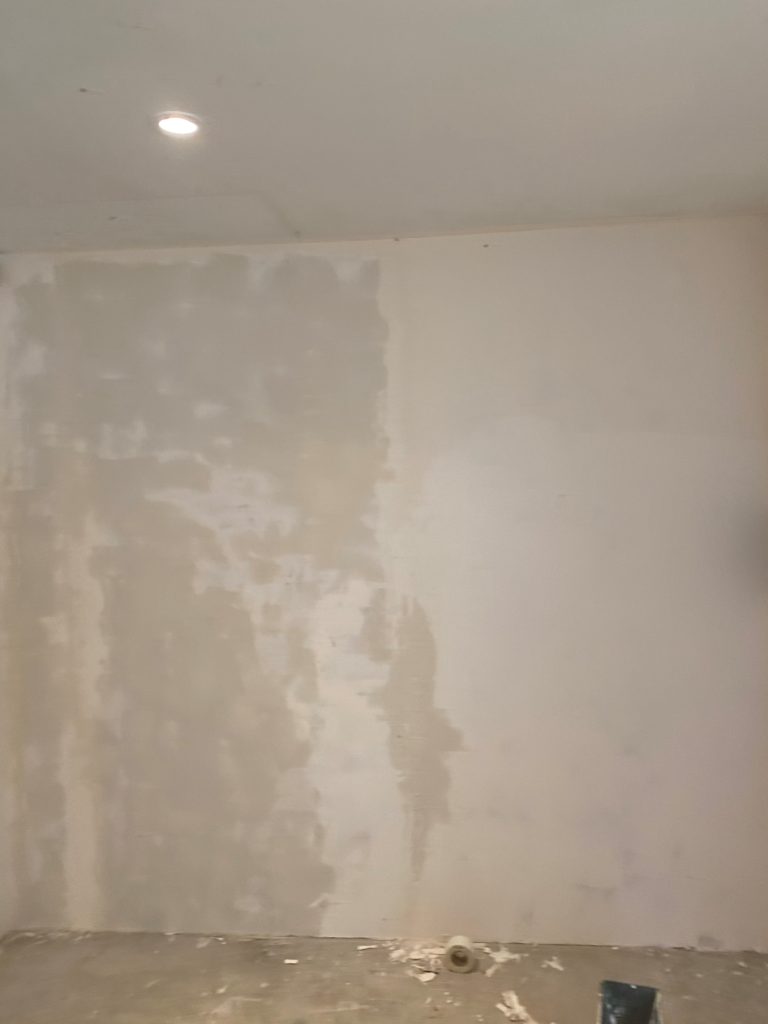
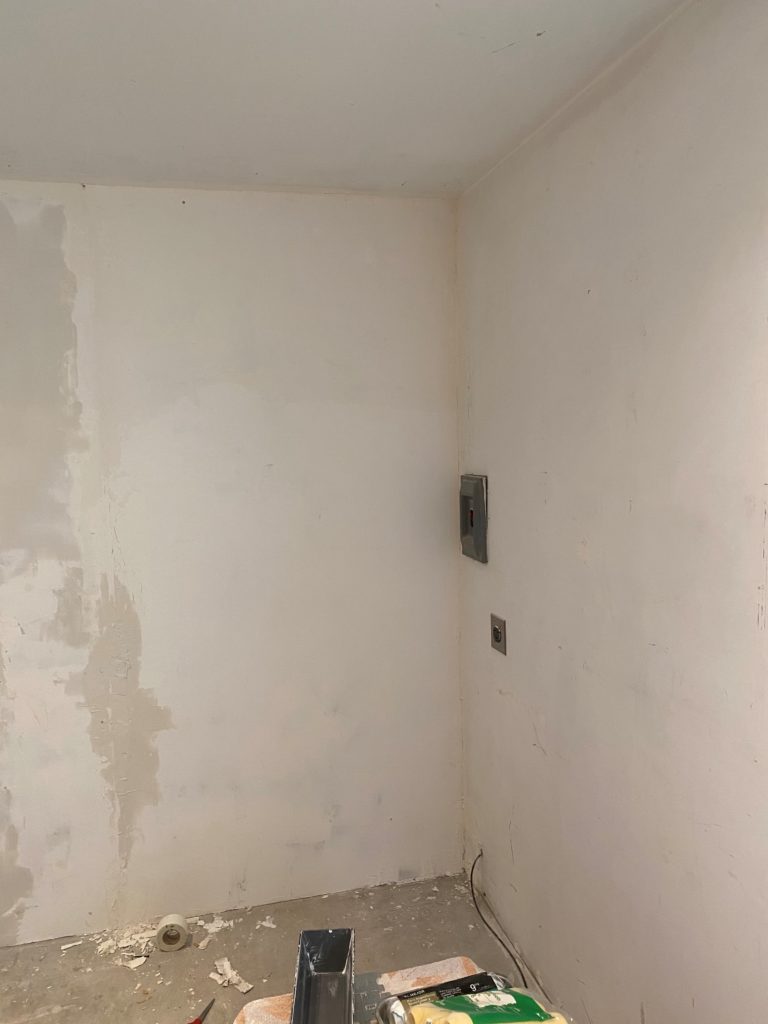
 My name is Alicia, and I do a lot of different kinds of projects. I sew, make jewelry, papercraft, and make a lot of homemade gifts. I also am very at home with power tools. Meaning that I take on a lot of home improvement projects by myself. I also make mistakes, which I notice most bloggers aren’t keen on showing when they do, but I will own them and show how I work around them and fix them